Displaying product attributes in a table on a product view can be useful for giving customers quick access to information that will help them make a purchasing decision. While Magento does come with the built in functionality to display attributes on the frontend, there are some limitations. The first limitation is that if the attribute is set to “Visible on Product View Page on Front-end” the attribute will show no matter if there is information entered into that field or not (assuming it’s assigned to the same attribute set as the product). Instead of displaying information, it just defaults to “No”. This will obviously create problems if you have many products assigned to the same attribute set, with an attribute that only applies to a few of them. More importantly, if the attribute displayed on the frontend as “Difficulty Level” and their was no difficulty level – having “No” display looks bad. The second limitation is that you are limited to their default display of the attributes in terms of their order. Of course, the order can be changed by dragging and dropping the attribute in the attribute set, but in some instances that’s impractical. A third limitation is that a store owner might want an attribute to be filled and visible in the admin panel, but not want it displayed on the frontend for certain products. By building your own custom table, you can cut down on time spent managing products in the admin, customize the table to your liking and solve all of the aforementioned challenges and more!
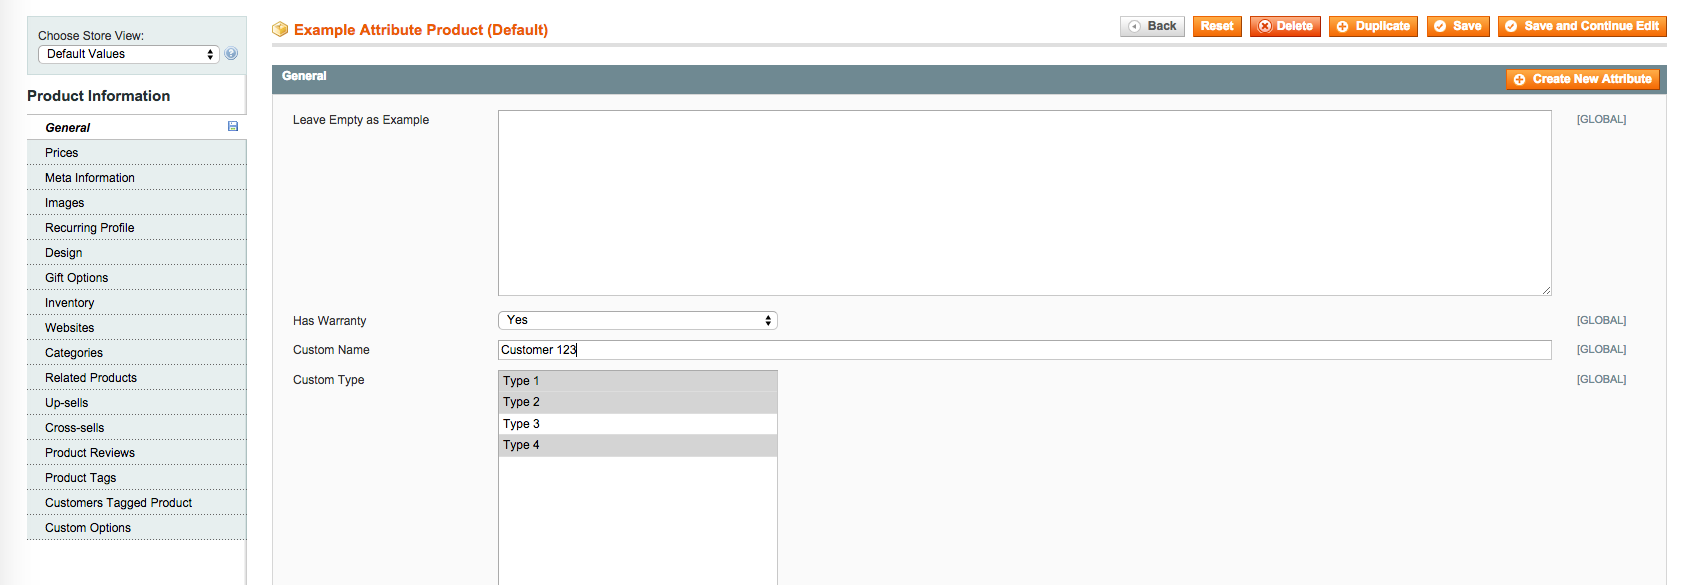
Here’s how our product is set up in the backend:
We are using Ultimo, so our first stop will be to local.xml inside of our child theme. We add this block of code:
<block type=”catalog/product_view_tabs” name=”product.info.tabs” as=”info_tabs” template=”catalog/product/view/tabs.phtml” >
Under:
<block type=”catalog/product_view_tabs” name=”product.info.tabs” as=”info_tabs” template=”catalog/product/view/tabs.phtml” >
Next, we create our directory structure:
/catalog/product/view with the file table.phtml inside of the view folder.
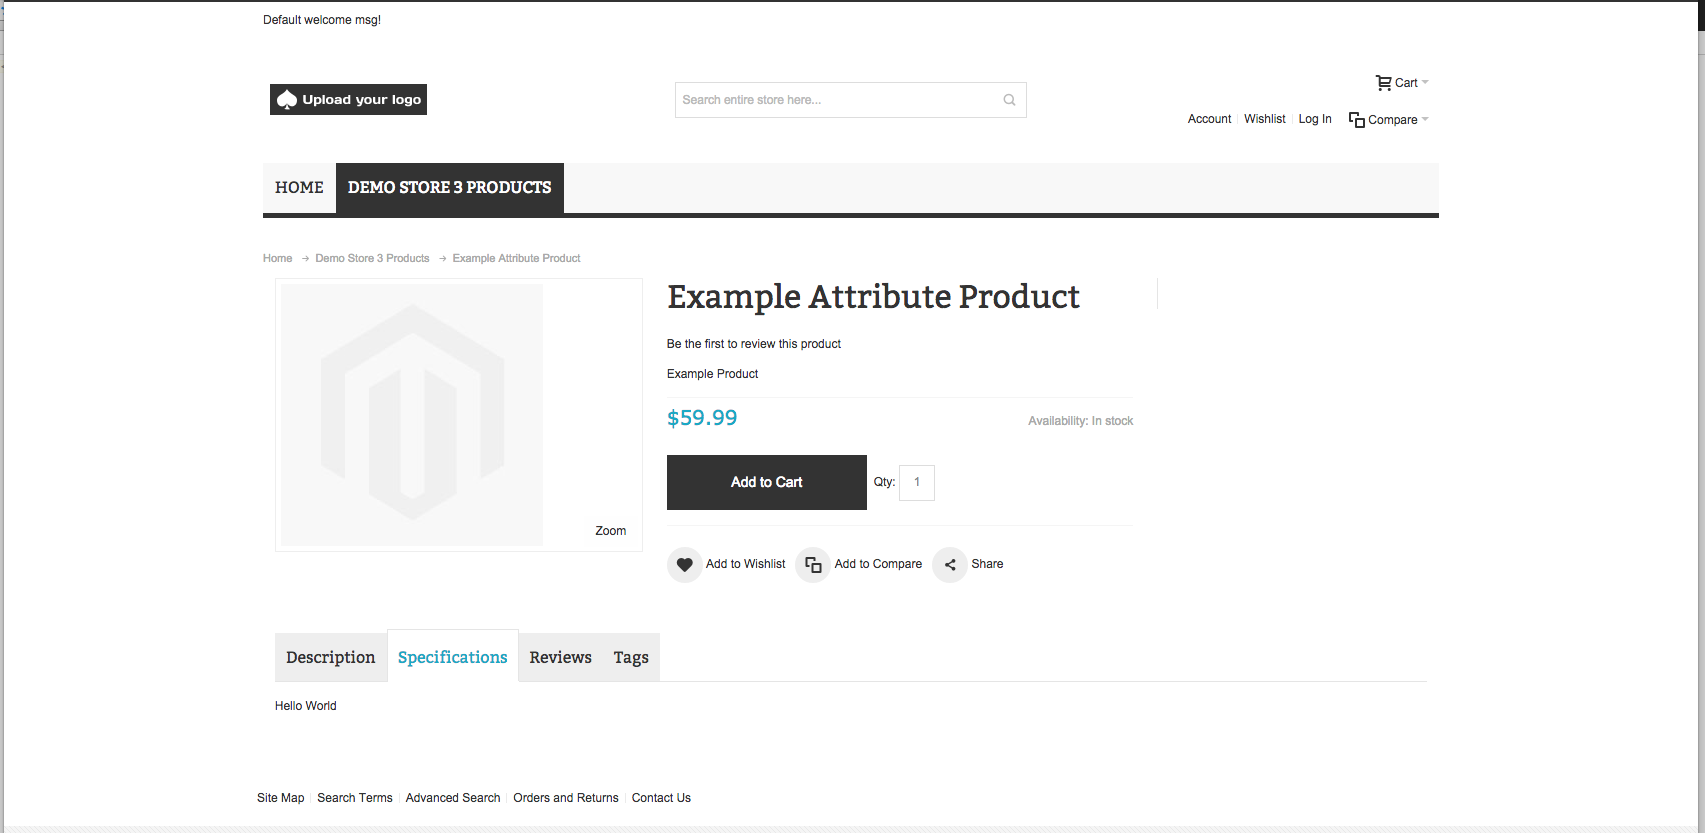
Next, we’ll want to make sure that this is working an enabled. So add the following to table.phtml:
<?php echo ‘Hello World’; ?>
If that, and a new tab “Specifications” loads when you view a product you can be sure that the table is ready to be added.
Our first bit of code is going to be:
<table width=”100%” border=”1″ cellspacing=”0″ cellpadding=”0″>

<?php

$_product = $this->getProduct();
This simply gets the current product and loads it’s properties.
The first thing we will want to do is create a list of attribute names. These are the labels for the attribute on the frontend. It’s important to note, at this step, that there is alternative way we could code this to reach the same outcome. That would be, to simply create a list of attribute codes, loop through them in a foreach and add their value and frontend label to two separate arrays. For the sake of simplicity, and for example of this tutorial, we will hard code in the labels of the attributes.
$namesList = array(

    ‘Custom Name’,

    ‘Custom Type’,

    ‘Has Warranty’,

    ‘Leave Empty By Default’,

);
Next, we will grab the values of all the attributes. Note that the order in which you grab their values must be the same order as with which you added their labels to the above $namesList array.
$attributeList = array(

    $_product->getData(‘cust_name’),

    $_product->getAttributeText(‘cust_type’),

    $_product->getAttributeText(‘has_warranty’),

    $_product->getData(‘empty_attribute’),

);
Another important note from this is getData VS getAttributeText. getAttributeText gets the text values of an attribute code when the value of the attribute might return something like 0 or 1. Or an ID. This is due to how the data is store in the database and the type of attribute that one has. For example, cust_name is a text field, cust_type is a multi select, and has_warrany is a yes/no attribute. Here’s the rest of the code to display the attribute – an explanation will follow.
$x = 0;

foreach ($attributeList AS $custAttr) {

$text = “”;

    if (is_array($custAttr)) {

        foreach ($custAttr as $attValue) {

            $text .= $attValue;

            if ($attValue != $custAttr[count($custAttr)-1])

            {

                $text .= ‘, ‘;

            }
        }

    }

    else {

        $text = $custAttr;

    }

    if (!empty($text)) {

    ?>

        <tr>

        <td class=”att-title”><?php echo $namesList[$x]; ?></td>

        <td class=”att-value”><?php echo $text; ?></td>

        </tr>

          <?php

    }

$x++;

}

?>

</table>
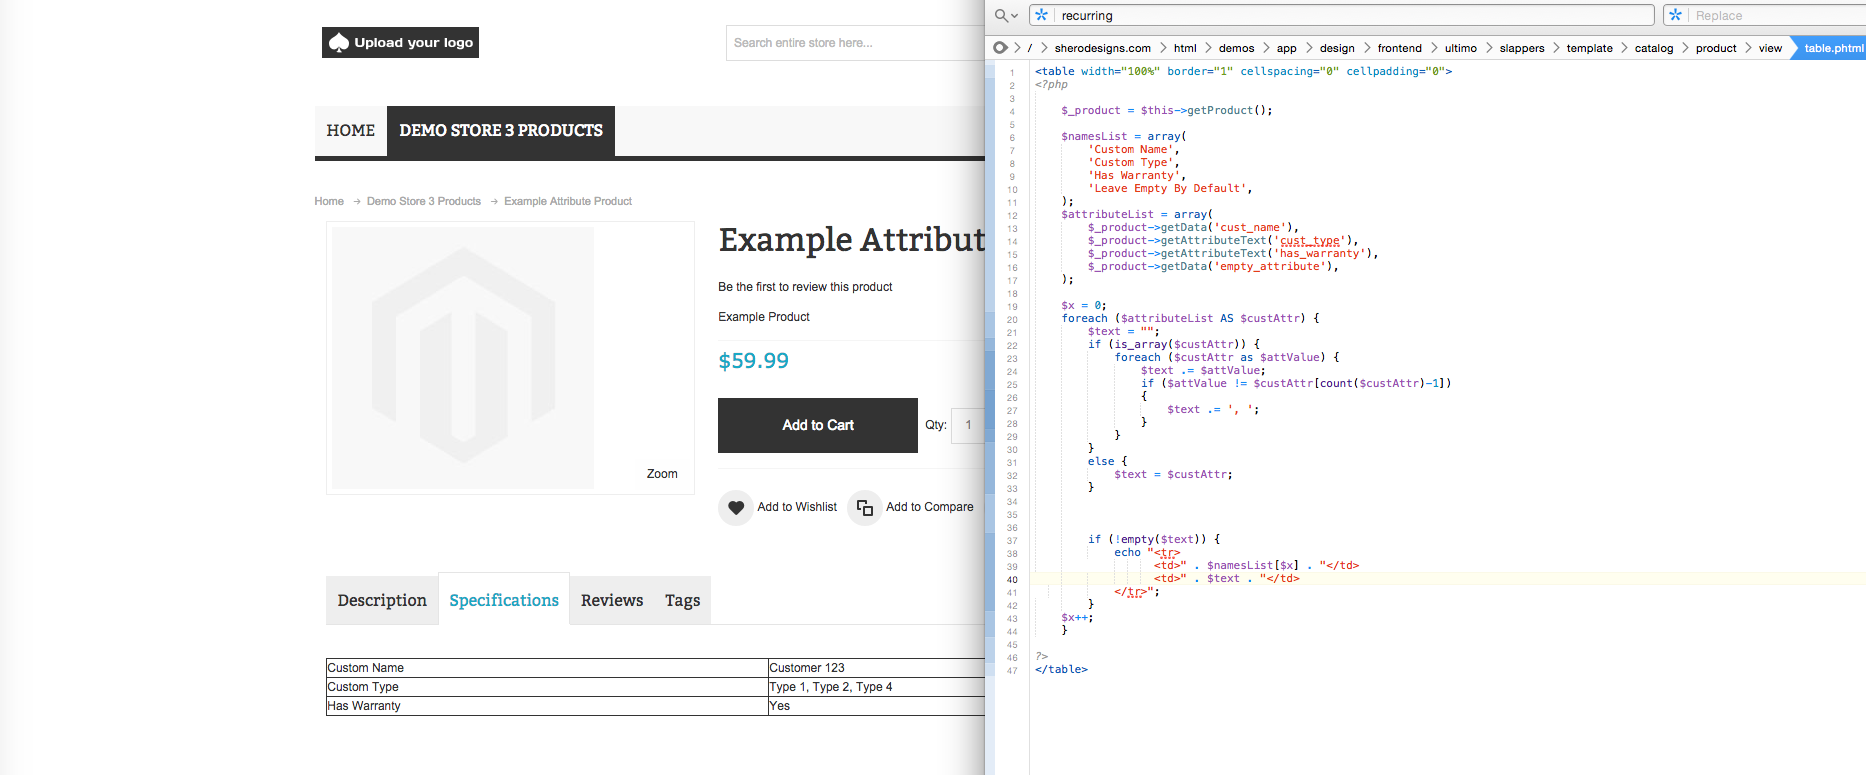
First and foremost we want to loop through each attribute in the attributeList as a $custAttr. Then, want to create a $text variable, this will ultimately become the value of the attribute and used to show or hide the table row. Next, we’re going to check if the attribute value is an array (in simpler terms “does this attribute we want the text for contain more than one value”). If it’s an array, we want to loop through each of the options (for example, in a multi-select) and add them to the $text variable. Line 25 is saying “if this is not the last loop through, pre-pend a ‘,’ to the end to separate the values. This can obviously be changed to whatever delimiter you wish. This is yet one more reason in favor of creating your own custom tables.
Now, on the other hand if the attribute only had one value, we’ll just assign it to the $text variable.
Line 34 is saying “does $text contain some sort of ‘text’?”. If so, we will display it. If not, we just continue on to the next attribute in the $attributeList. If it does, we also want to display it, so we use our $x counter (within the loop) to display it’s name from the array list (remember earlier we mentioned that it was important to keep the orders the same between the two arrays $attributeList and $namesList).
Now you’re probably wondering, “I have an attribute which I need for all products, that I only want to display to customers for a few products, how do I do that?”. Use the following code to hide the attribute based off 2 new arrays, one for a conditional to check the product Id, the other to check if the attributes match!
$hideProductIds = array(’14’);

$hideProductAttr = array($attributeList[‘1′]);

if (!empty($text)) {

    if (!in_array($_product->getId(), $hideProductIds)) {

        echo “<tr>

        <td>” . $namesList[$x] . “</td>

        <td>” . $text . “</td>

        </tr>”;

    }

    else {

        if (!in_array($custAttr, $hideProductAttr)) {

            echo “<tr>

        <td>” . $namesList[$x] . “</td>

        <td>” . $text . “</td>

        </tr>”;

        }

    }

}
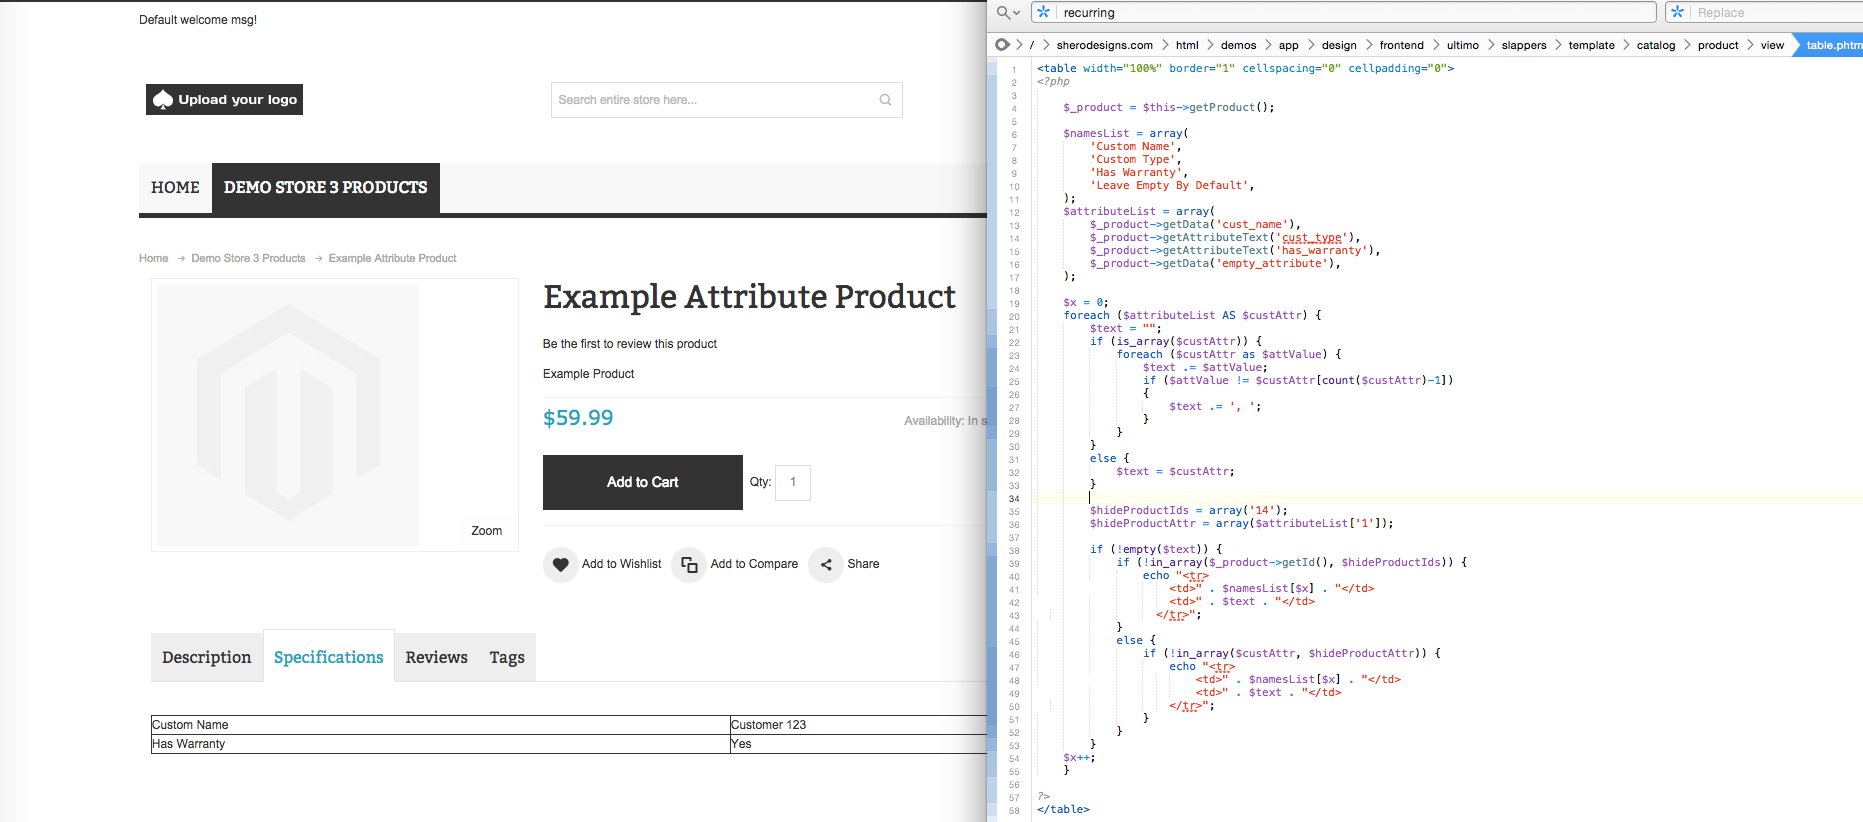
As you can see, this is a good way to hide them for certain products, is easily updatable, and requires no additional attributes and attribute sets to be made!
The amount of customizations that one can do are limitless, from alternating color rows, to highlighting certain attributes, to hiding attributes and modifying their display.
Magento Development Lead